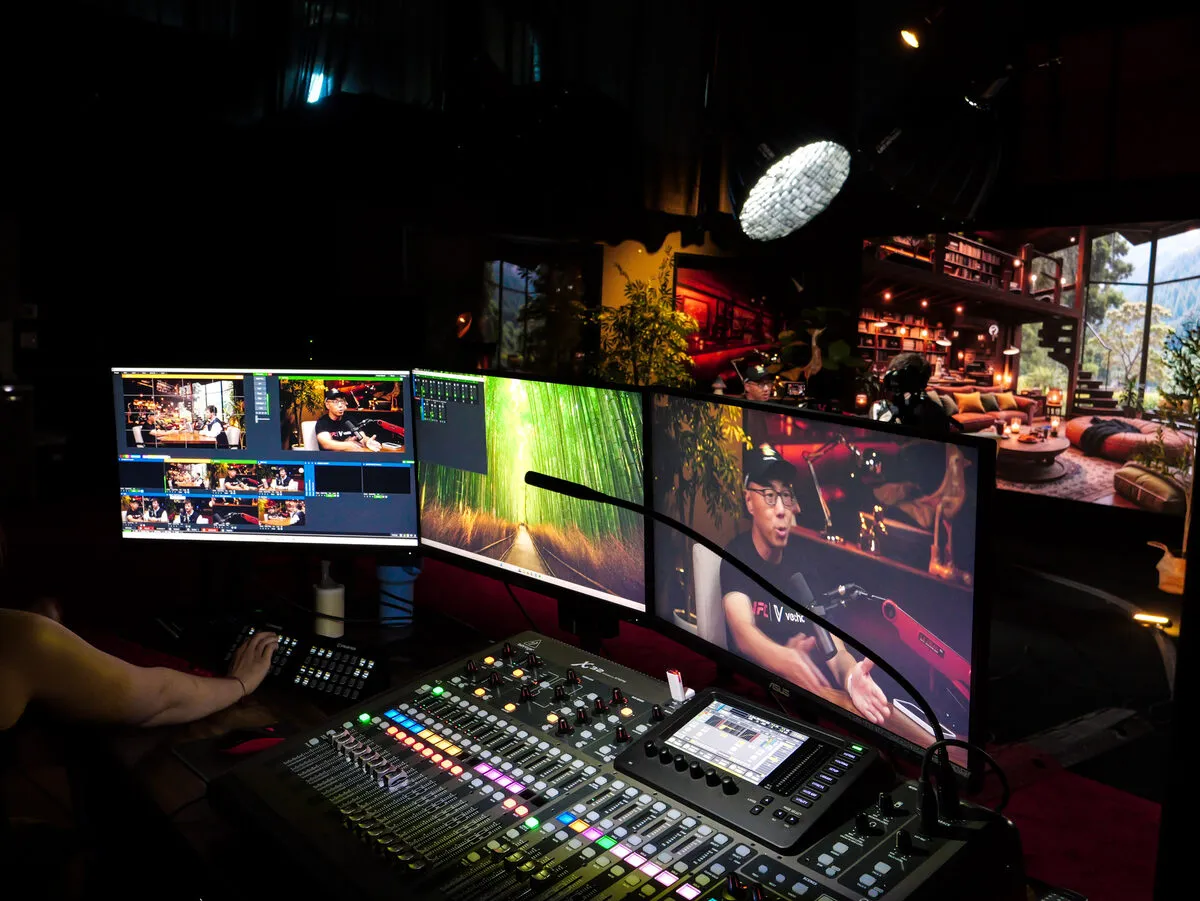
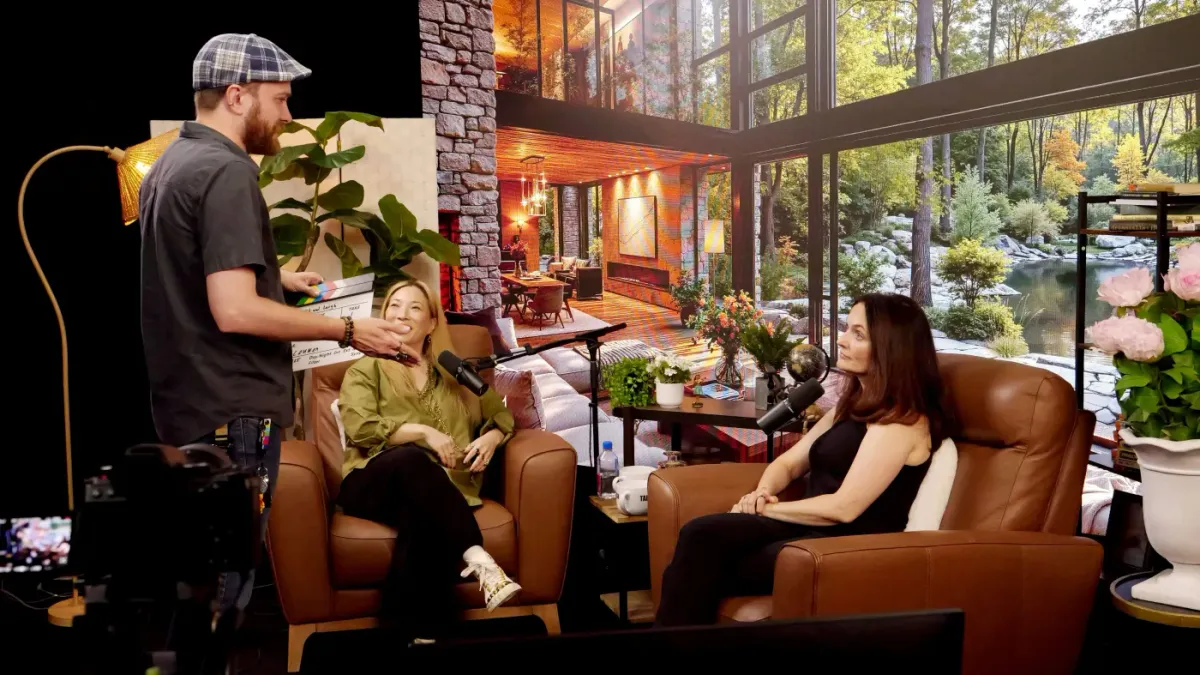
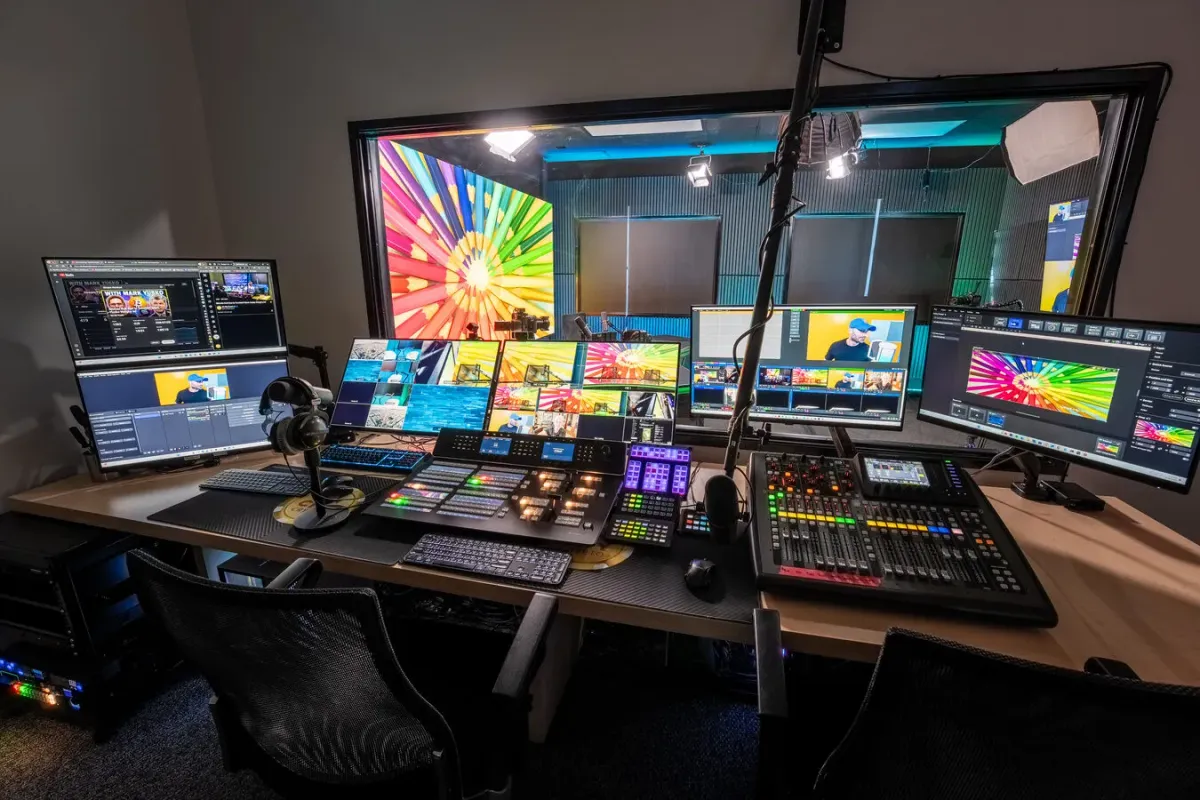
Recording a podcast is simpler than most beginners fear and easier to do badly than most beginners realize. The gear is not the hard part. Getting clean, listenable audio out of whatever setup you have is. We record shows all day in our Las Vegas studios, so this guide covers how to record a podcast the right way, the actual step-by-step process, the four ways people record depending on their setup, and the small technique things that separate a clear episode from one people click away from.
WHAT YOU NEED TO RECORD A PODCAST
At the bare minimum, you need four things: a microphone, headphones, something to record onto (usually your computer or phone), and recording software. That is it. You can be recording today with a $100 mic and a free app.
- A microphone. A USB podcast microphone is the simplest place to start and plugs straight into your computer. If you are unsure what to buy, our podcast equipment guide breaks down every option by budget.
- Wired headphones. So you can hear exactly what is being captured while you record. This is not optional.
- A recording device. The computer or phone you already own works fine.
- Recording software. Free tools like Audacity or GarageBand handle recording and audio editing for most shows.
Everything below assumes you have those four covered. Now the actual process.
THE RECORDING PROCESS, STEP BY STEP
Here is the core process, the same one we run through with people in the studio, boiled down to what actually matters.
- Pick a quiet space. A small room with soft stuff in it beats a big empty one every time. Carpet, a couch, and curtains kill echo. A closet full of clothes is genuinely one of the best sounding spots in most homes.
- Set up your mic and put on headphones. Position the mic about a fist away from your mouth and slightly off to the side, and put your headphones on so you can hear yourself as the mic does.
- Set your levels. Talk at your normal volume and watch the input meter in your software. Aim for it to peak in the healthy middle range, not slamming into the red. Too quiet is fixable, clipping is not.
- Record a ten-second test. Say a few sentences, play it back, and listen on your headphones for hum, echo, or distortion. Fix it now, not after a 40-minute take.
- Press record and just talk. Leave a couple seconds of silence at the start and end so you have room to edit. If you fumble a line, pause, and say it again cleanly. You will cut the mistake later.
- Save and back up immediately. Export the file and put a copy somewhere safe the moment you finish. Losing a great episode to a crash is a heartbreak you only need once.
That is the whole loop. The differences come from how many people are involved and where they are, which is the next part.
THE FOUR WAYS TO RECORD A PODCAST, BY SETUP
Almost every show falls into one of these four scenarios. Find yours.
RECORDING SOLO INTO YOUR COMPUTER
The simplest setup. Plug your USB mic in, open your software, set levels, and record straight to your computer. This is how most solo shows and many first episodes get made. Keep the mic close, wear your headphones, and you are done.
RECORDING IN THE SAME ROOM WITH GUESTS
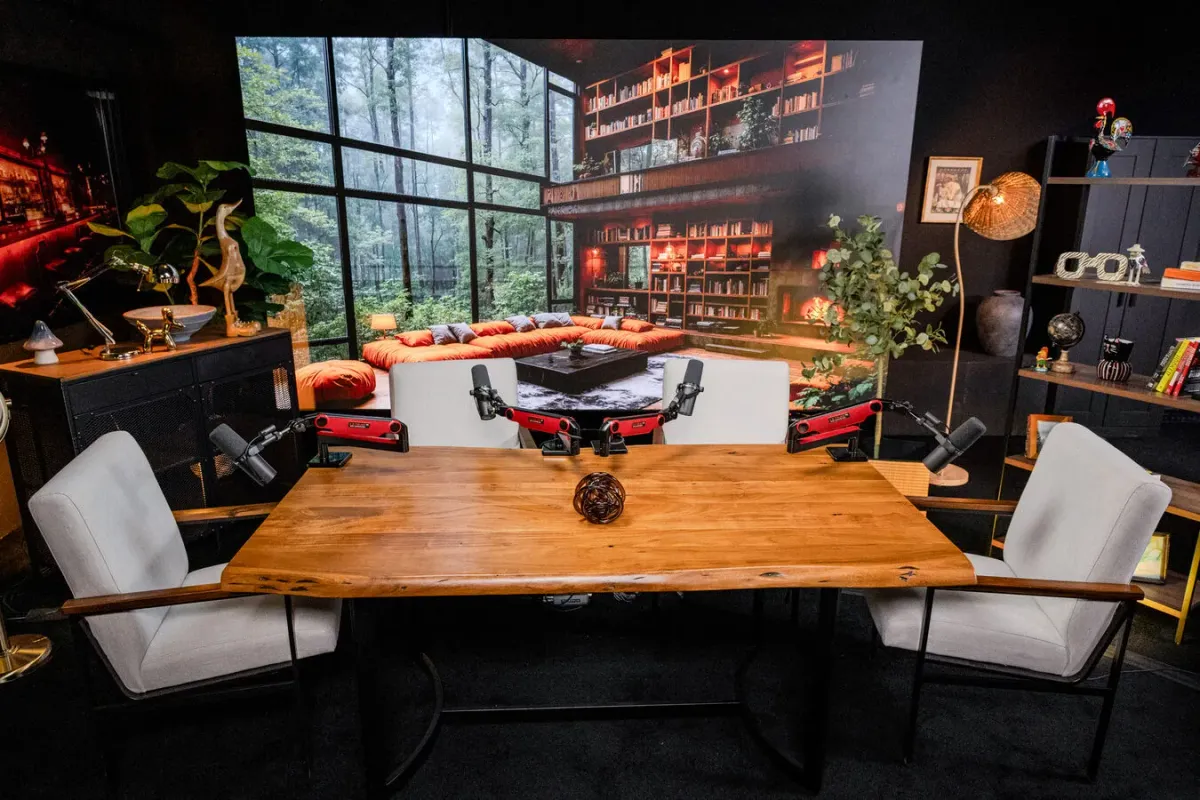
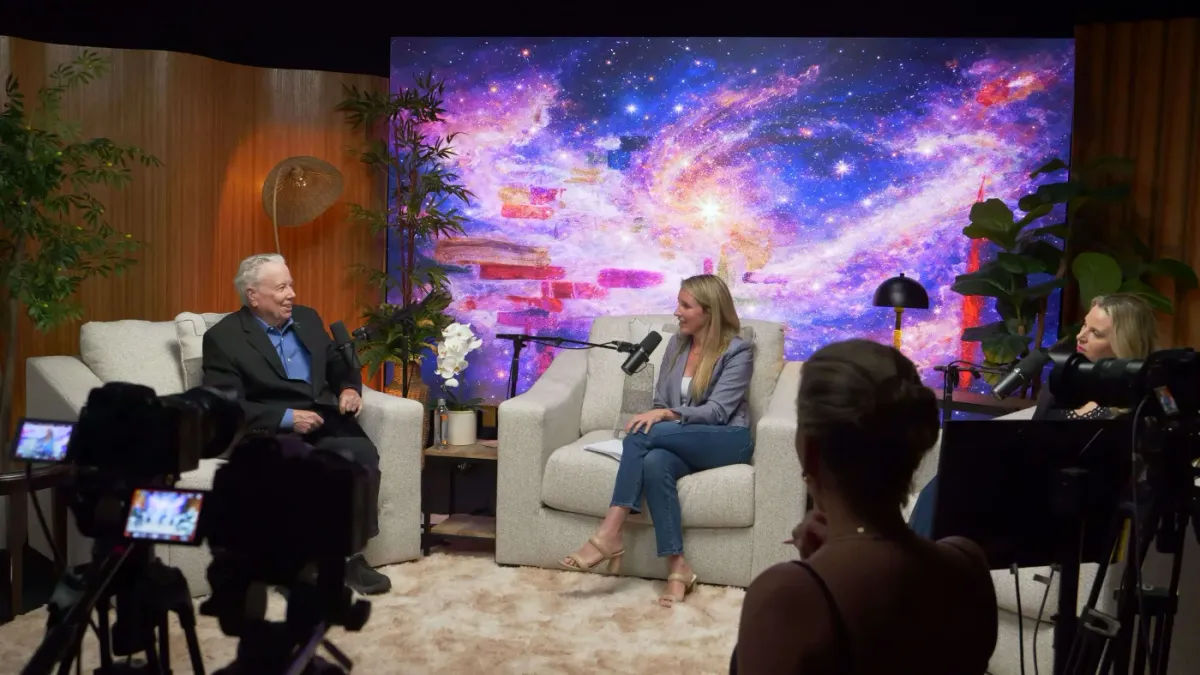
When two or more people are together, you have a choice. The easy way is one mic in the middle, but it sounds distant and picks up the room. The better way uses one microphone per person, each on its own track, run into an audio interface or a mixer. Separate tracks matter a lot here, because if one person coughs or their mic pops, you can fix just their track without touching anyone else. This multi-mic, same-room setup is exactly what a studio is built for.
RECORDING REMOTELY WITH GUESTS
Most interview shows record with a guest who is somewhere else. To keep the quality high, do not just hit record on a normal video call — the audio compresses and sounds thin. Instead:
USE REMOTE RECORDING SOFTWARE
Purpose-built browser tools record each person locally in high quality, then upload the clean files, so a guest's shaky internet does not wreck the audio. This is the modern standard for remote interviews.
RECORD A DOUBLE-ENDER
The old-school pro method: each person records their own side locally at the same time, then you combine the two clean tracks in editing. More manual, but bulletproof quality.
RECORDING ON YOUR PHONE
In a pinch, the voice memo or sound recorder app on your phone can capture a usable episode, especially for a quick solo take or field recording. A clip-on mic improves it a lot. It is not the quality ceiling, but it is better than not recording at all, and plenty of shows started exactly this way.
CHOOSING A PODCAST RECORDER OR APP
Your podcast recorder is wherever the audio actually lands. Match it to how you record:
- Free desktop software. Audacity and GarageBand record and edit for free and cover most solo and in-person shows.
- Remote recording platforms. Browser tools that record each guest locally are the pick for interviews with remote guests.
- A phone recorder app. The built-in voice recorder works for quick or on-the-go recording.
- A portable recorder. A handheld digital recorder is great for interviews out in the field with no computer.
Do not overthink this. Pick the free option that matches your setup, learn it, and upgrade only when something is genuinely holding you back.
GETTING CLEAN AUDIO: MICROPHONES, LEVELS, AND HEADPHONES
This is the part that actually decides whether people keep listening, and it is mostly technique, not gear.
- Get close to the mic. A fist-width away. Close mic technique cuts out room noise better than almost any treatment.
- Use a pop filter. It softens the hard P and B sounds that otherwise punch the mic.
- Always wear headphones while recording. You cannot fix a problem you cannot hear, and monitoring live is how you catch it in the moment.
- Record separate tracks when you can. One track per person gives you far more control in editing.
- Kill the background noise first. Turn off fans, silence phones, shut the window on street noise. A quiet room does more than expensive gear.
Nail these five and a modest mic will sound better than an expensive one used carelessly.
AFTER YOU RECORD: EDITING AND CLEANUP
Once the take is done, a light edit turns a good recording into a finished episode. Trim the dead air at the start and end, cut the obvious mistakes and long pauses, and even out the volume so it stays consistent. Modern AI cleanup tools can enhance speech, reduce background noise, and make a rough recording sound noticeably more professional in one pass, which is a genuine gift for beginners. Keep edits light at first. Over-editing sucks the life and natural rhythm out of a conversation. Then export the file, and it is ready to upload to your podcast host.
COMMON RECORDING MISTAKES TO AVOID
After watching a lot of people record, the same handful of mistakes come up again and again. Skip these and you are already ahead of most first-timers:
- Recording without headphones. You miss the hum, pop, or dropout until it is too late to fix. Always monitor live.
- Sitting too far from the mic. Distance lets the room and its echo creep in. Stay about a fist away.
- Ignoring the room. A great mic in a tiled, empty room still sounds hollow. Soft surfaces first, gear second.
- One shared mic for a group. It sounds distant and gives you no control. Use one mic per person on its own track.
- Skipping the test recording. Thirty seconds of testing saves you from finding a problem 40 minutes in.
- Forgetting to back up. Export and copy the file the second you finish. Crashes do not warn you.
- Over-editing. Cutting every breath and pause makes a conversation sound robotic. Leave it human.
Most of these cost nothing to fix. They are habits, not purchases, which is why good technique beats expensive gear almost every time.
RECORDING IN A PROFESSIONAL STUDIO
If all of the above sounds like a lot to juggle, this is the shortcut. In a professional recording studio, the room is already treated, the mics and levels are already dialed in, and an engineer handles the technical side while you focus on talking. You walk out with clean, finished audio, and if you want video, multi-camera footage too. For anyone recording regular guest interviews, doing video, or simply wanting to skip the learning curve, booking studio time trades a bit of money for a lot of time and consistency. If you are weighing that against a home setup, our studio vs home recording breakdown lays out the real tradeoffs, and how to prepare for a session covers what to do before you arrive.
FREQUENTLY ASKED QUESTIONS
HOW CAN I RECORD MY OWN PODCAST?
Set up a USB microphone in a quiet room, put on wired headphones, open free software like Audacity or GarageBand, set your input levels so your voice peaks in the healthy middle range, record a short test, then record your episode and back up the file. That is the entire process for a solo show.
WHAT IS REQUIRED TO RECORD A PODCAST?
Four things: a microphone, wired headphones, a recording device such as your computer or phone, and recording software. A quiet space is the unofficial fifth, and it matters as much as any of the gear.
WHAT DO MOST PODCASTERS USE TO RECORD?
Solo and in-person shows usually record with a USB or XLR microphone into free software on a computer. Shows with remote guests use browser-based remote recording platforms that capture each person locally. Many pros record separate tracks per person for maximum control in editing.
HOW DO I RECORD A PODCAST WITH A REMOTE GUEST?
Use remote recording software that records each person locally in high quality rather than a standard video call, which compresses audio. As a backup, both people can record their own side at the same time — a method called a double-ender — and you combine the clean tracks afterward.
CAN I RECORD A PODCAST FOR FREE?
Yes. Free software like Audacity or GarageBand plus a mic you may already own is enough to record and edit a full episode. You only need to spend money when you want higher audio quality, video, or to save time.
WANT TO SKIP THE SETUP AND JUST TALK?
Book a free tour of our Las Vegas studios and see how a treated room and an engineer make recording a podcast about as easy as it gets.
BOOK YOUR FREE STUDIO TOUR